In this tutorial, we will focus more specifically on the various tips to use during battles in order to have all the tools you need to achieve victory.
Tips before the battle
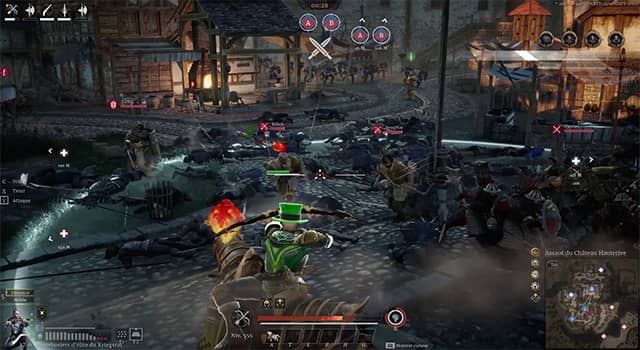
Unit flags
By default, unit flags are disabled in battle, most likely for performance reasons. However, you can enable them through the settings: UI, then Show unit flags.
But what is their usefulness beyond the visual aspect that makes battles feel a bit more epic?
Well, the flag appears above the unit and allows you, for example, to quickly identify the number of units holding a position or even simply their presence.
A concrete example: I am at the bottom of the walls, the siege tower has just arrived and I am about to climb it. With unit flags enabled, I will know beforehand whether enemy units are waiting for me. Without flags, I would have to climb up first to get that information.
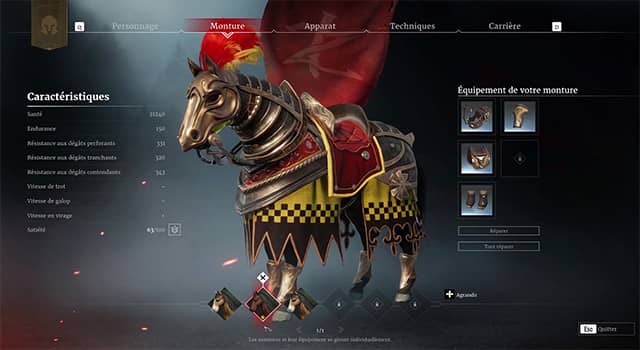
Buying mounts
Mounts are very important in battle, as they obviously allow you to move quickly to accomplish various objectives.
By default, the game gives you one mount. You should know that without any specific purchase, you have three slots in your stable.
That means you still have two available slots. As soon as possible, I strongly recommend buying two additional mounts to fill your stable and, if possible, also replacing the first horse, which is less efficient.
Once this is done, you will have greater mobility and will be able to adapt more easily.
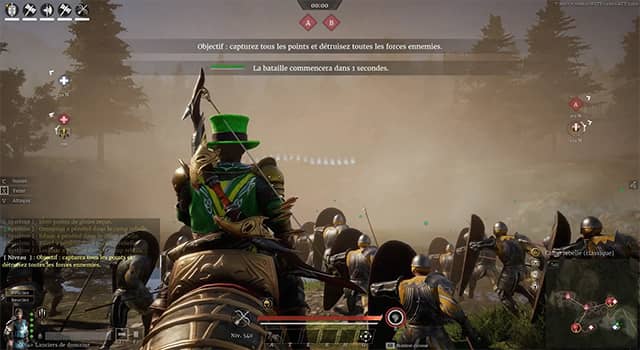
Moving units at the start of the battle
At the beginning of a battle, especially in Territory Wars, you have a timer of a few seconds that prevents your hero from moving. This timer does not affect your units, so you can order them to move, for example using the X command.
The few seconds gained can be decisive, especially for capturing villages in Territory Wars.
Tips during the battle
Supply point tips
Changing weapons during battle
If you wish and if you have a weapon from another class than the one you are currently using in your inventory, you can switch weapons during battle.
This tip can be useful, for example, to hunt down Falconettis hidden on the other side of the map and unreachable with your current weapon.
A rather important drawback: you cannot change armor or hero attributes, which means your choice of optimized classes will be limited.
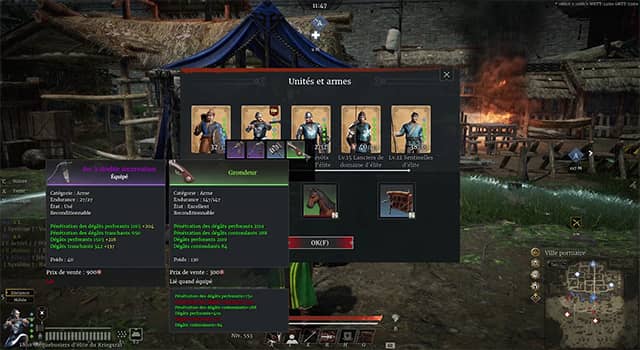
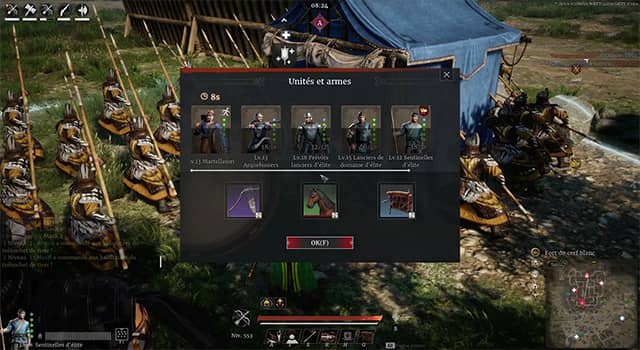
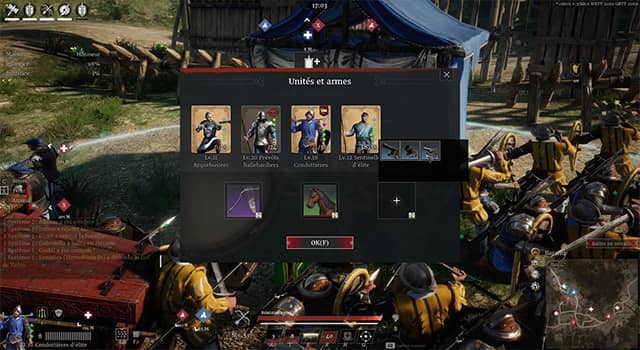
Changing units
You probably already know this, but the supply point allows you to change units.
However, there are a few important things to know:
- First, you must remain inside the circle around the supply point when summoning a new unit. If you leave the circle, the summon will be canceled.
- Second, if an enemy hero enters the circle while you are trying to summon a unit, they will prevent the summon as long as they remain there (this can of course also be used by you to prevent enemies from calling reinforcements).
- Third, after successfully summoning troops, you must wait 15 seconds before you can summon another unit.
Artillery
The
artillery is not limited; you can place as many as you want. To do so, simply deploy one, then return to the supply point and select the one you want to use in battle. Of course, you can repeat this process as many times as you wish.
Resupplying ranged units
Ranged units need ammunition in order to fire. When they run out, you must go to a supply point to refill them.
A small trick is to simply leave them on the supply point so they never run out of ammunition.
Another useful tip: it is not necessary to place all your ranged units on the supply point—just one is enough to resupply all the others.
Healing your mount
Great, you fought bravely and survived, but your horse took heavy damage and could really use some healing.
To do this, go to the quartermaster point and wait a moment until its health bar regenerates.
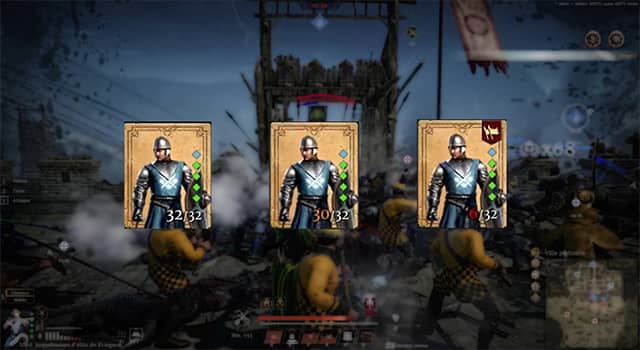
The percentage of remaining units in a group
You may have noticed that there is a color code indicating the state of your unit:
- White: your unit has not suffered any losses and can fight at 100% of its capacity.
- Orange: your unit has suffered losses but can still be summoned and fight with the remaining troops.
- Red: your unit has suffered heavy losses and can no longer be summoned.
This information is important in certain situations.
For example, let’s say I have just performed a Templar charge and unfortunately lost enough troops to reach the red state, but I want to switch units.
In that case, I might as well tell the Templars to keep fighting, because I won’t be able to summon them again once I change units anyway.
Actions that can block or unblock situations
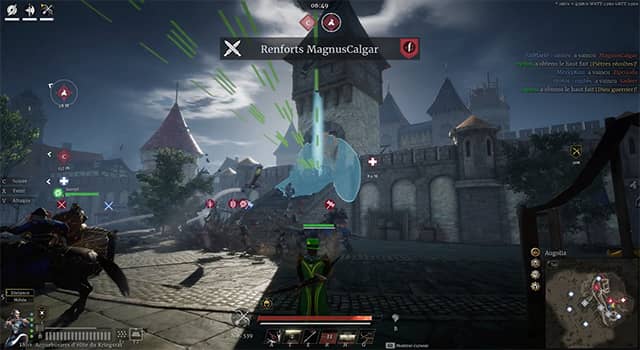
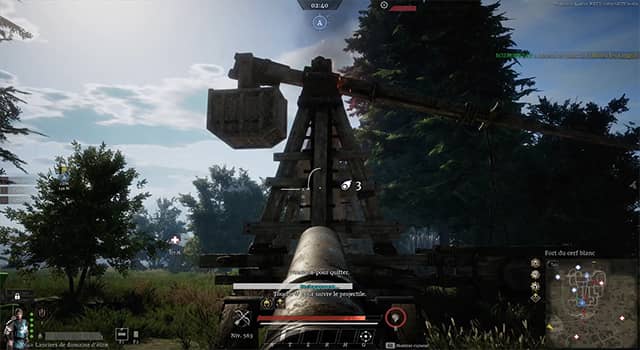
The trebuchet
Each player in a siege battle is entitled to one trebuchet shot.
The trebuchet allows you to bombard a target area, destroying everything within the zone (as long as no obstacle blocks it).
To launch a trebuchet, press G by default and then select the artillery strike. Note that the artillery strike has a 20-second cooldown.
As an attacker, the trebuchet helps break stalemates; as a defender, it is therefore a serious threat.
However, it is possible to destroy enemy trebuchets using siege engines, which logically makes defending easier.
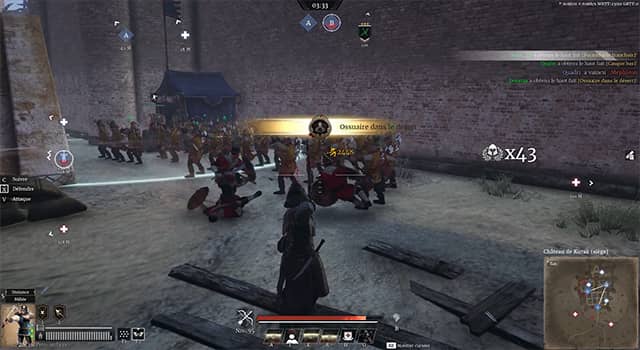
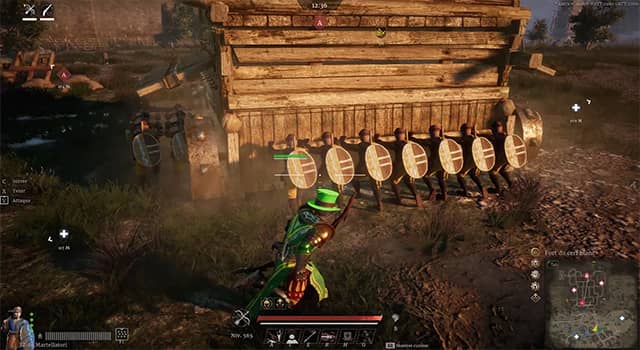
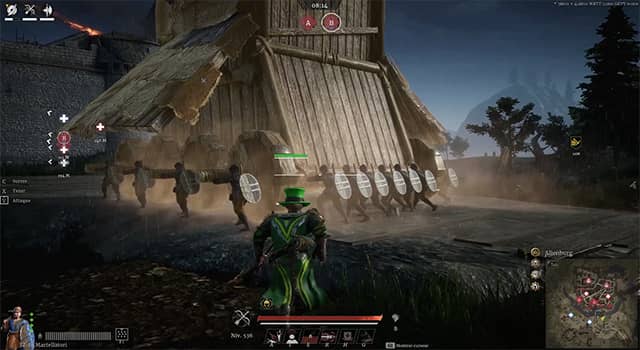
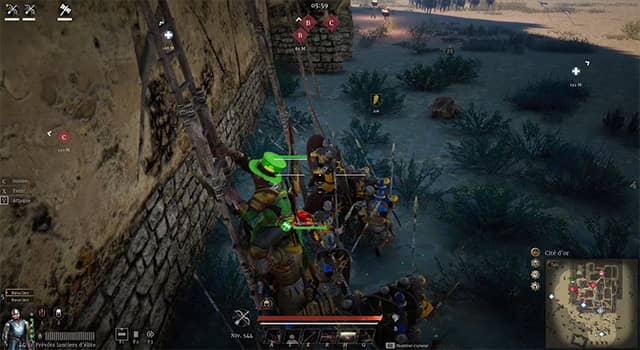
Stopping siege towers
Beyond the standard destruction using siege weapons or Falconettis, it is also possible to stop a siege tower by dealing damage to the units pushing it.
Ranged classes excel at this task, especially the longbow, which is capable of slowing down or even completely stopping a tower’s advance.
A small tip: when a unit is hit, it will temporarily abandon its position. Therefore, it is more effective to switch targets with each shot rather than trying to kill each unit one by one.
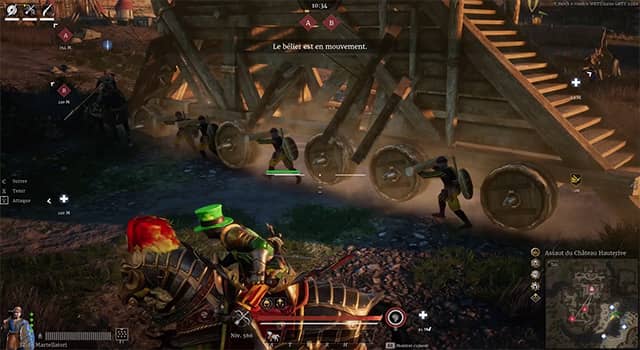
You may have noticed that there are three types of towers.
- The first has 19 units: 6 on the right, 6 on the left across two rows, plus 7 at the back and a ladder.
- The second has 14 units: 4 on each side and 6 at the back, without a ladder.
- The third has 8 units: 4 on the left and 4 on the right, aligned, and without a ladder.
The optimal position for a ranged class to stop the tower depends on the model.
- Model without frontal protection: position yourself directly in front of the tower to hit as many units as possible.
- Model with frontal protection: choose either the left or right side and shoot at the exposed side (there are fewer units, so the tower will stop more often).
Anti-cap
Anti-cap simply consists of bringing your units—or yourself—onto the capture point while the enemy is present.
To perform effective anti-cap, you must obviously get onto the capture point and run around, dodging as much as possible, preferably behind your enemies.
You can also use your horse, which allows you to be more mobile and extend the duration of the anti-cap.
Of course, this method should only be used as a last resort, because if the enemy is present in large numbers, you will not survive. However, it can buy precious time and sometimes even win a match at the very last moment.
Destroying enemy mobility
In Conqueror’s Blade, mobility is extremely important. With this in mind, targeting enemy heroes’ horses is a very effective strategy. If the enemy no longer has a horse available, they will move much more slowly and take longer to return or reposition.
Early-game sorties
This method mainly applies to siege battles, but it can be a double-edged sword.
At the start, choose a mobile and powerful unit and open the main gate.
The goal? Destroy often low-level enemy units and capture the supply point to prevent enemy heroes from changing units.
If executed well, you can cause the enemy team to lose a considerable amount of time and struggle to recover—but be careful.
If the enemy has just a few units capable of countering you, you may lose your unit.
Additionally, you will have given the enemy an opportunity to push the main gate, which I remind you cannot be closed immediately after your sortie.
Ladders
Ladders obviously allow quick access to enemy walls, but defenders can simply remove them by pressing the F key.
To still gain access to the walls, you can interrupt the ladder removal by dealing damage to enemy heroes.
To do this, you can pair up with a ranged player or use archers to rain fire on the top of the ladder.
Palisades
On some maps, palisades are present to block or restrict access. You can simply destroy them by hand, with siege weapons, or even using braced pikemen.
Why do this? It depends on the map. It can open a new path to flank the enemy or allow one of your cavalry allies to launch a devastating charge.
That’s already the end of this article, I hope you enjoyed it. Don’t forget to leave a thumbs up if you liked it, and if you want to follow the channel, make sure to subscribe! As a reminder, you can use the code
CBCREATOR007 to get access to some in-game benefits for new players or for players who haven’t launched the game in over a month.